Getting Started
Quick Start
This guide is designed to help you easily integrate to our SDK as a distributor. By following this guide, you will set up the SDK for purchasing insurance.
Prerequisites
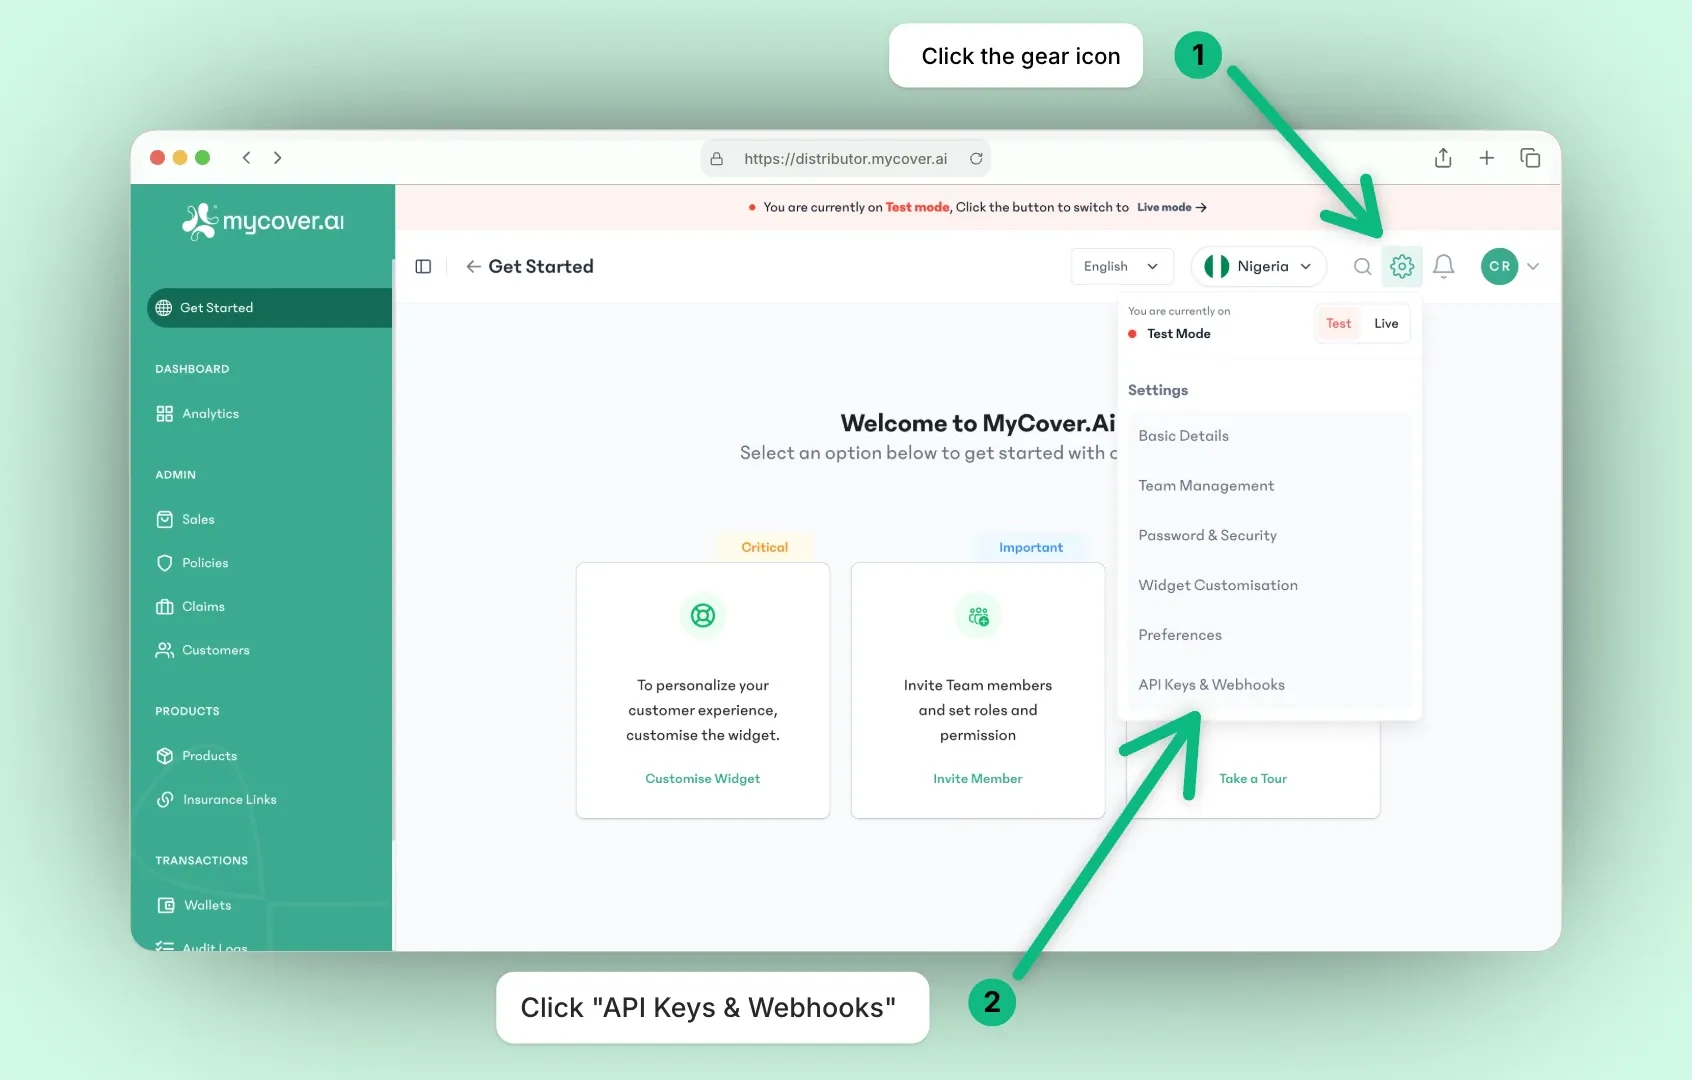
- Before getting started, create a Distributor account and generate your API keys for access to our APIs.
- Ensure Node.js is installed on your computer because the project is built with Vite.js .
Key Usage & Environment
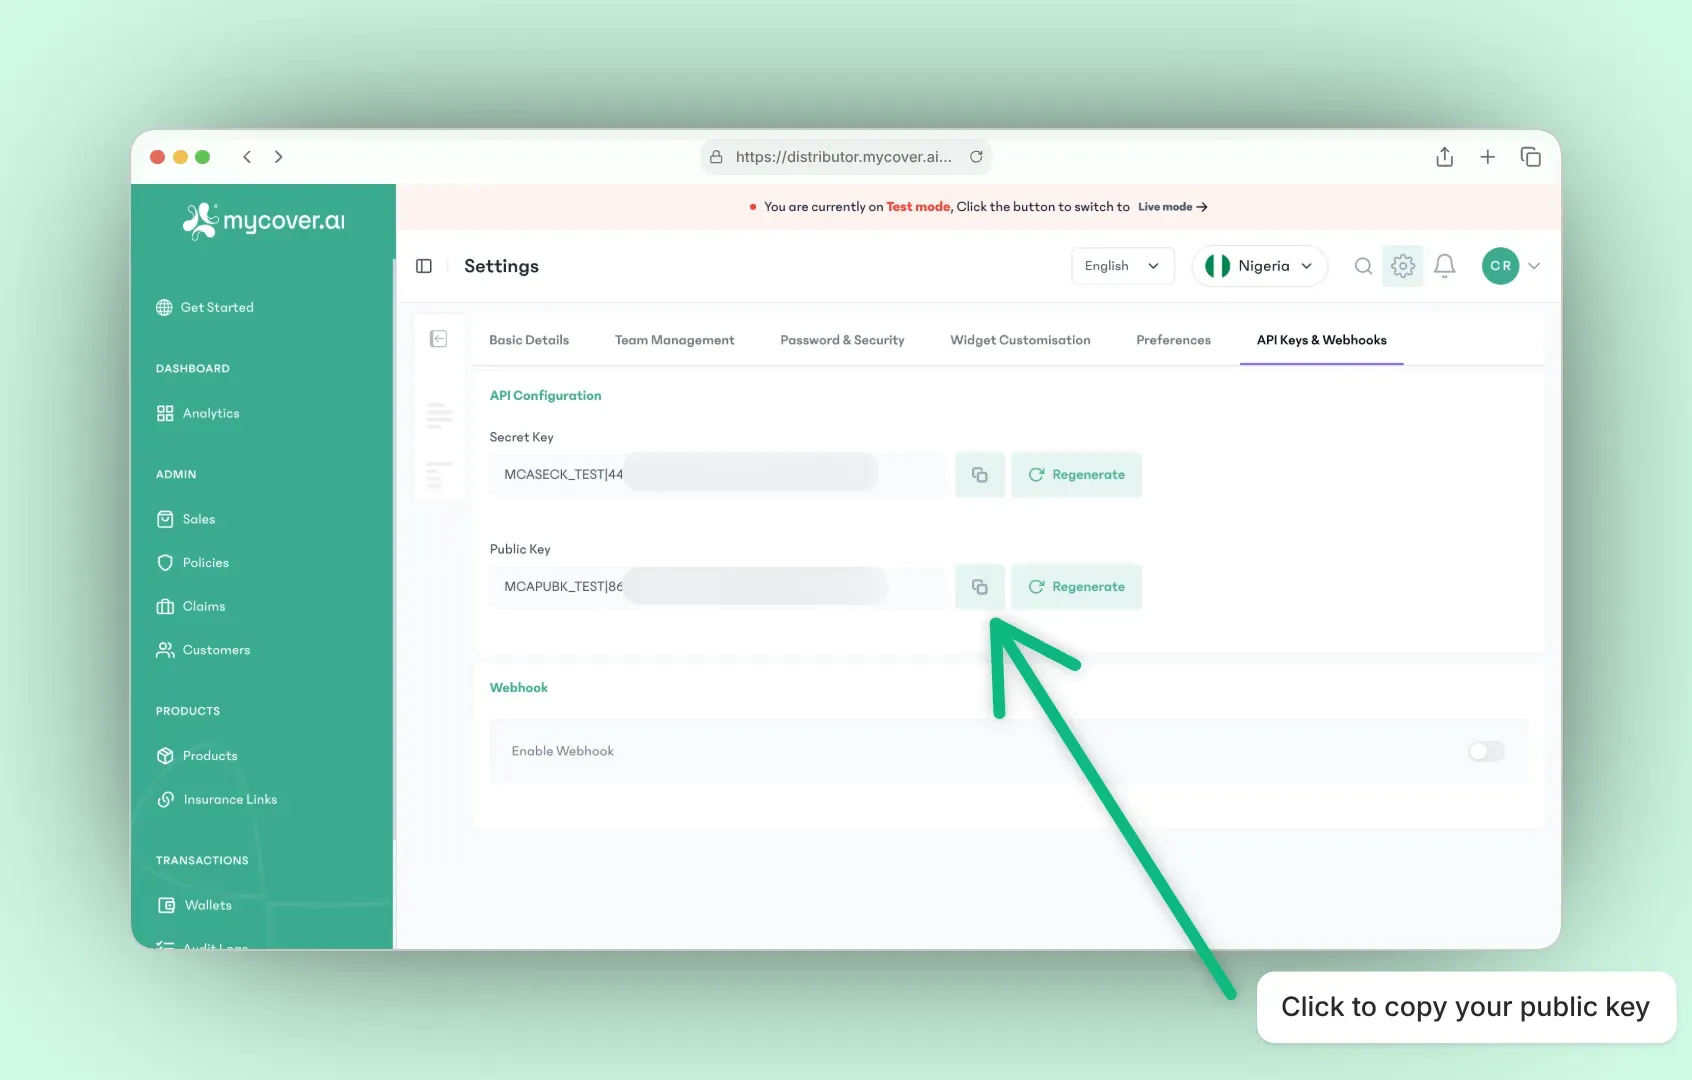
All MyCover.ai SDKs require a public API key to initialize.
- Public keys always start with
MCAPUBK_ - Test environment keys use the format:
MCAPUBK_TEST|<uuid> - Live environment keys use the format:
MCAPUBK_LIVE|<uuid>
Important Notes:
- Always replace placeholder values in code snippets with your actual public key from the MyCover.ai dashboard.
- In documentation examples, we use a neutral placeholder:
MCAPUBK_ENV|your_public_keyReplace ENV with TEST for the test environment or LIVE for the live environment. - Parameter names may differ across SDKs (e.g., pk, apiKey, API token), but the value passed is always the same public key.
Setting up your project
- Clone the repository to bootstrap a fresh project:
To clone the repository to your personal computer, run the following command.
git clone https://github.com/ibuildgenius/buy-insurance.git
- Navigate into the project’s directory with the command:
cd buy-insurance
- Install the project’s dependencies using the commands:
npm install
pnpm install --shamefully-hoist
yarn install
bun install
- In the mycoverai.js file, replace the
MCAPUBK_ENV|your_public_keywith the public API key from your distributor dashboard.
mycoverai.js
const config = {
  ...
  pk: 'MCAPUBK_ENV|your_public_key', // Replace with your public API key
  ...
};
- Start the project locally in development mode.
Run the following command to start the project in the browser on http://localhost:5173/buy-insurance/
npm run dev
pnpm run dev
yarn dev
bun run dev
✨ Well done! A browser window should open for http://localhost:5173/buy-insurance/
Testing your project
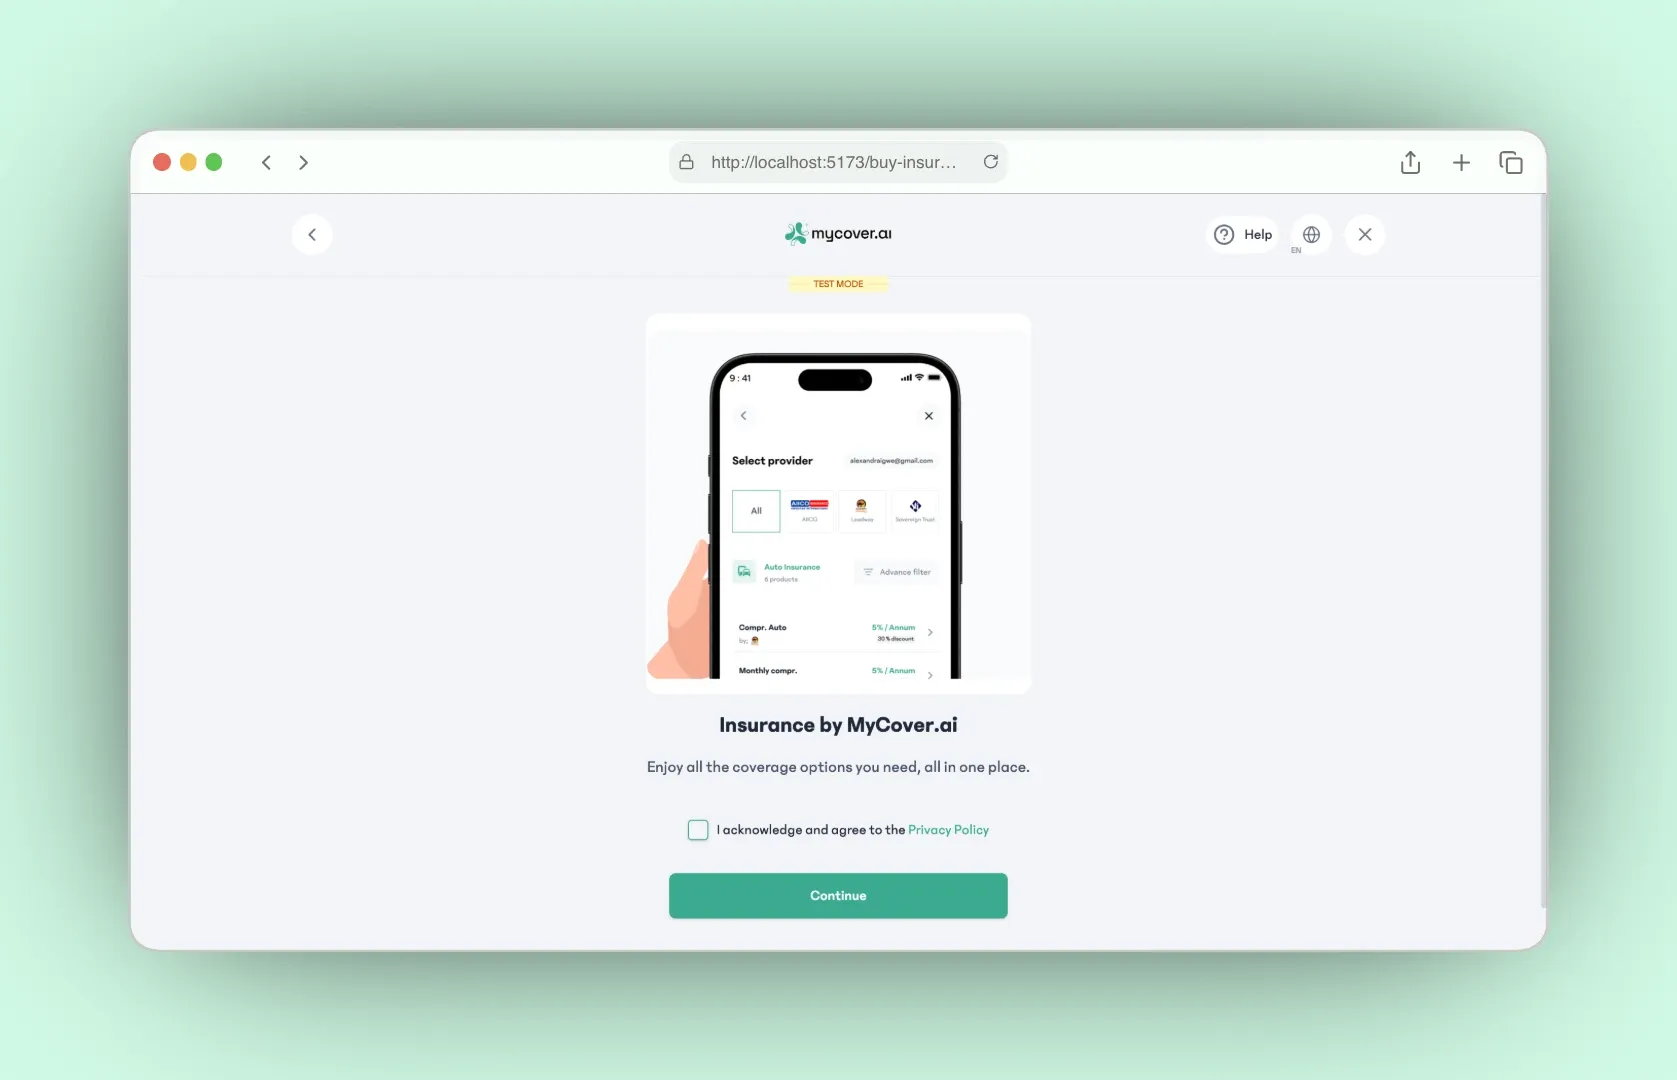
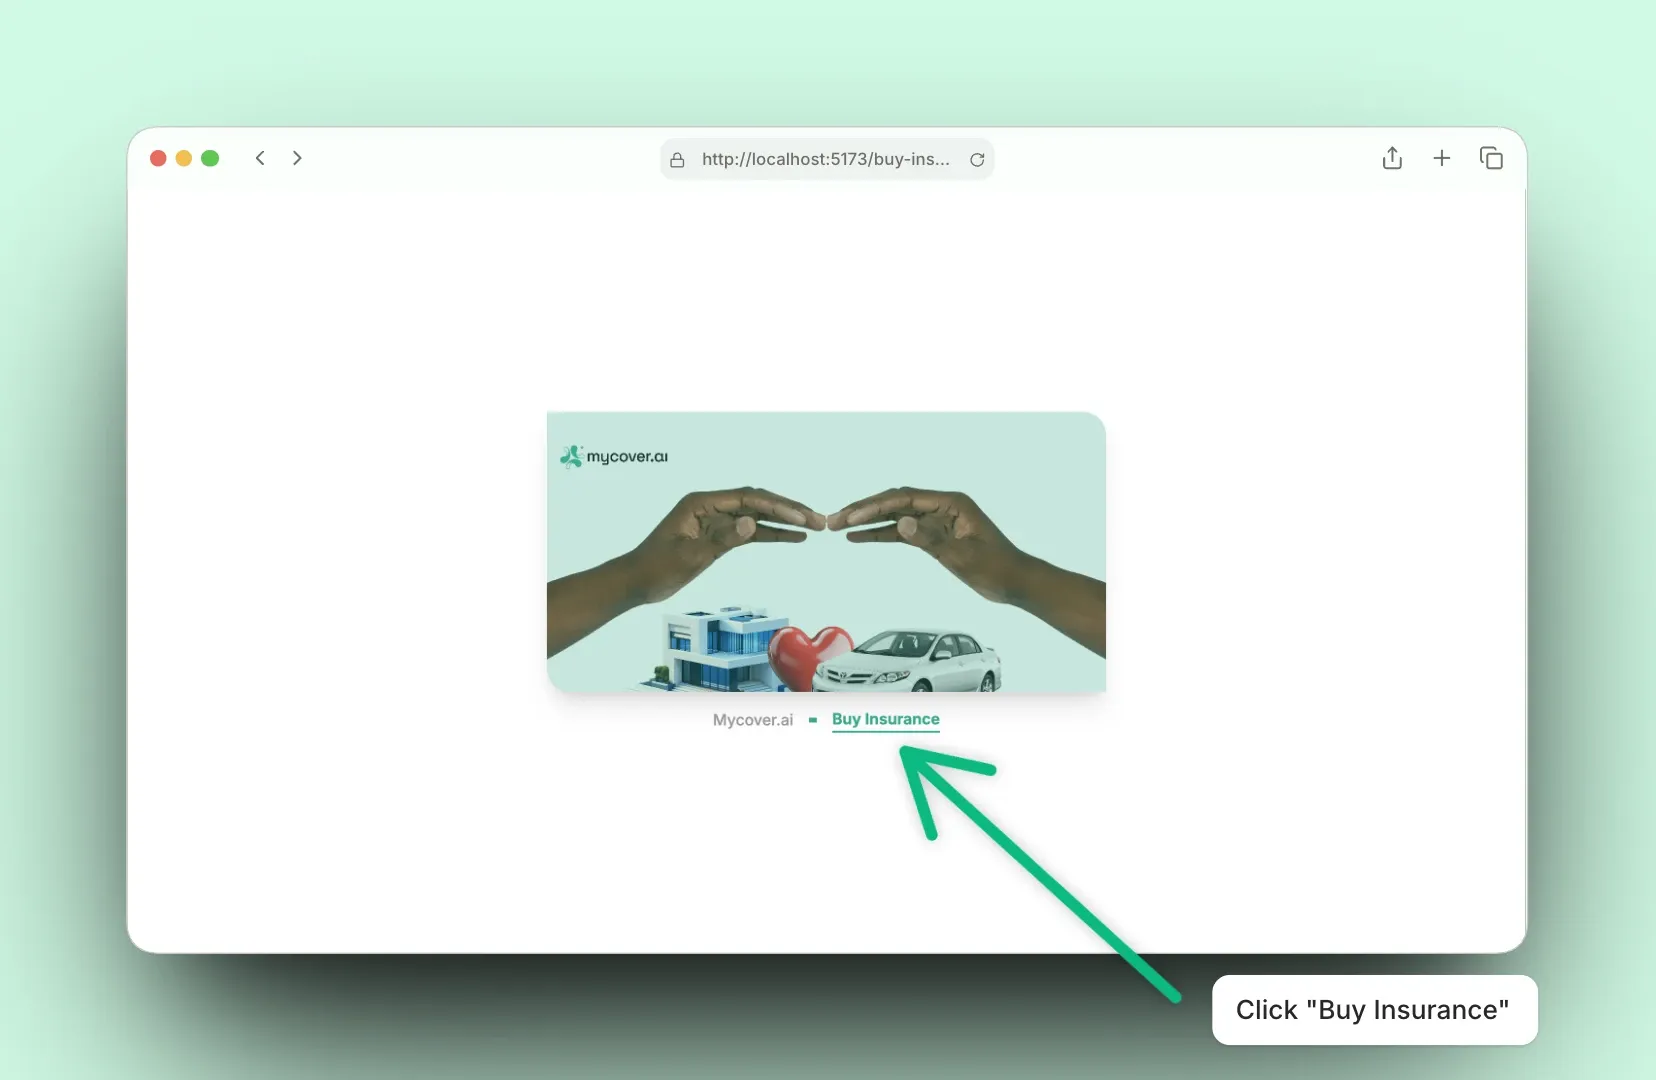
With everything setup correctly, on launching your browser on localhost:5173, you should be greeted with a simple user interface. Click the "Buy Insurance" button to open up the MyCover.ai SDK widget.
Once you click the button, the SDK is initialised and displays a list of actions to take, including purchasing a product.
✨ During purchase, you can easily simulate a bank transfer payment using this link: https://demobank.paystackintegrations.com/